Category: Productivity

  • How to Unzip Files on Windows: Complete Guide for Windows 11 & 10 (2026)

    How to Unzip Files on Windows: Complete Guide for Windows 11 & 10 (2026)

    To unzip files on Windows, open File Explorer, right-click the ZIP folder, and select “Extract All” — then choose a destination folder. As of May 2026, Windows 11 also natively supports extracting .rar and .7z files, so most users no longer need third-party software for basic decompression.

    Three Methods to Unzip on Windows

    Method 1: Right-Click “Extract All” (Simplest)

    1. Locate the ZIP file in File Explorer (look for the zipper icon)
    2. Right-click → Select “Extract All”
    3. Choose destination — Windows suggests a new folder in the same location
    4. Click “Extract” — A progress bar appears for large archives

    SupportYourTech notes this is the fastest method for most users.
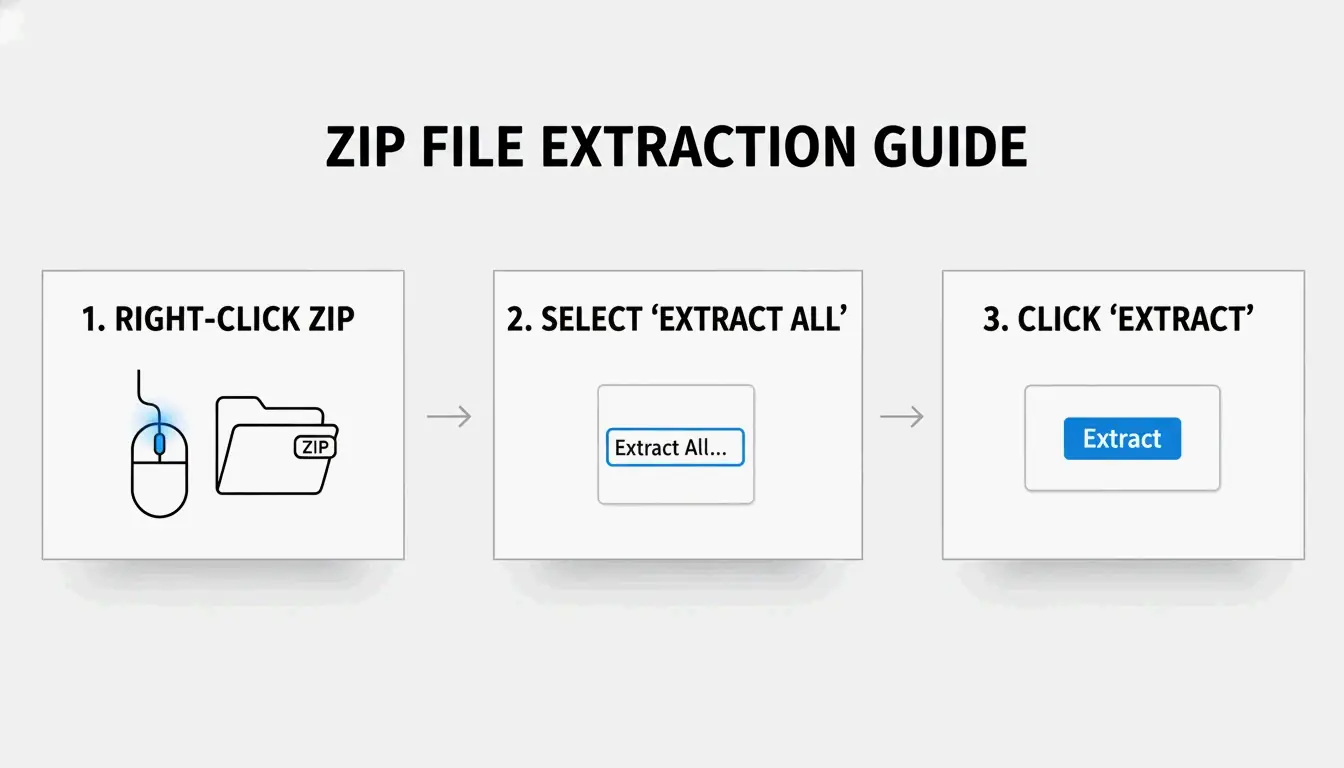
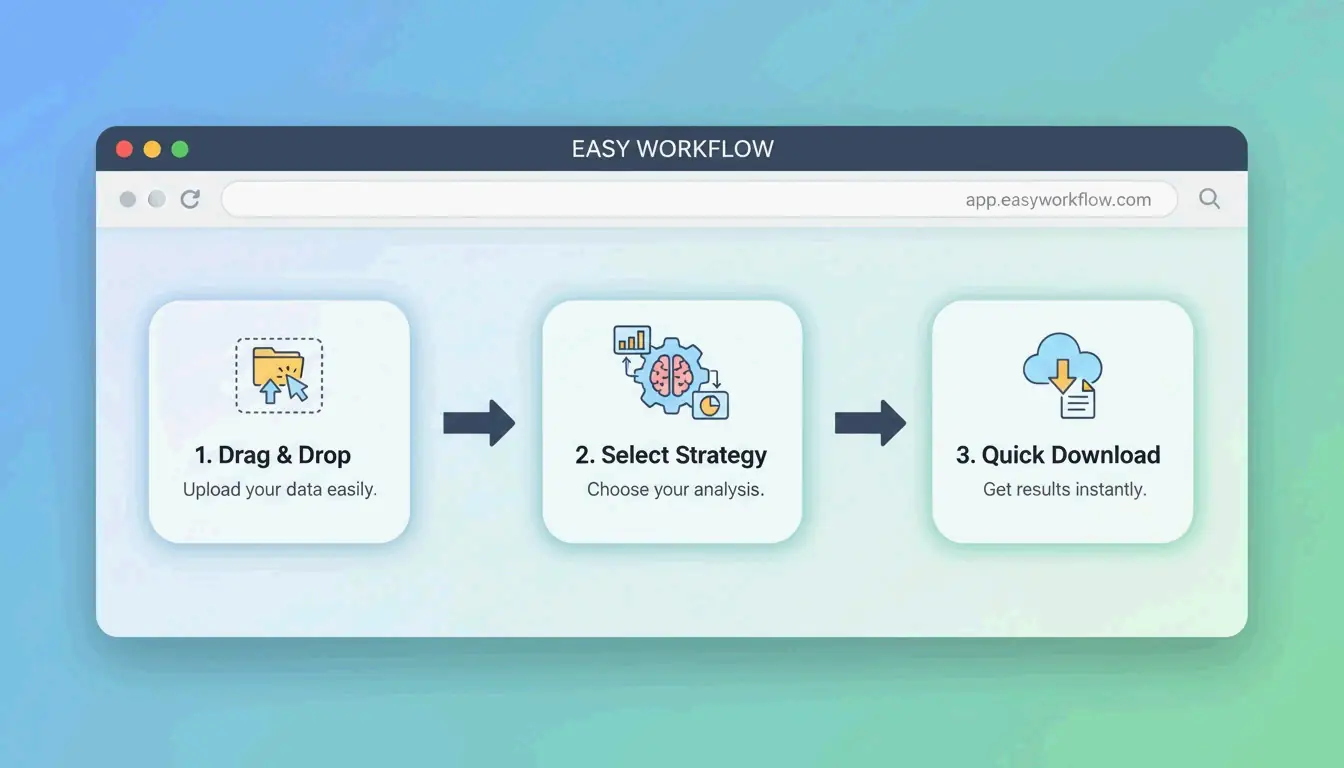
    Windows standard 3-step extraction workflow

    Method 2: Drag-and-Drop Individual Files

    Need just one or two files from a large archive? Double-click the ZIP to browse inside, then drag specific items to your desktop or another folder. Windows extracts only those files instantly — no full decompression needed.

    Method 3: PowerShell Batch Extraction

    For dozens or hundreds of archives, automate with PowerShell:

    
    Get-ChildItem -Path "C:\SourceFolder" -Filter *.zip |
      ForEach-Object {
        Expand-Archive -Path $_.FullName -DestinationPath "C:\DestinationFolder"
      }
    

    Serverman recommends this for IT admins processing bulk data or setting up automated weekly backups.

    Windows 11: Native RAR and 7z Support

    After the November 2023 update, Windows 11 can extract .rar and .7z files directly in File Explorer — just like ZIP files. Microsoft integrated the open-source libarchive project to make this possible, as noted by PandaOffice Drecov.

    Limitation: You can extract RAR/7z, but Windows still only creates ZIP archives. For creating .7z or .rar files, you need a dedicated app.

    Format Extract (Win 11) Create (Win 11) Windows 10
    ZIP Native Native Native
    RAR Native No Requires third-party app
    7z Native No Requires third-party app
    GZIP / TAR / BZIP2 No No Requires third-party app

    When to Use 7-Zip or WinRAR Instead

    The built-in Windows tool does not support AES-256 encryption for creating password-protected archives. For sensitive data (medical records, tax returns), use a dedicated tool.

    Feature Windows Built-in 7-Zip WinRAR
    Create ZIP Yes Yes Yes
    Create 7z (LZMA2) No Yes No
    Create RAR No No Yes
    AES-256 encryption No Yes Yes
    CRC error recovery Limited Strong Strong
    Price Free Free Paid (trial)

    ZIP Extractor notes that desktop apps like 7-Zip offer better protection against corrupted files and CRC errors compared to browser-based tools.
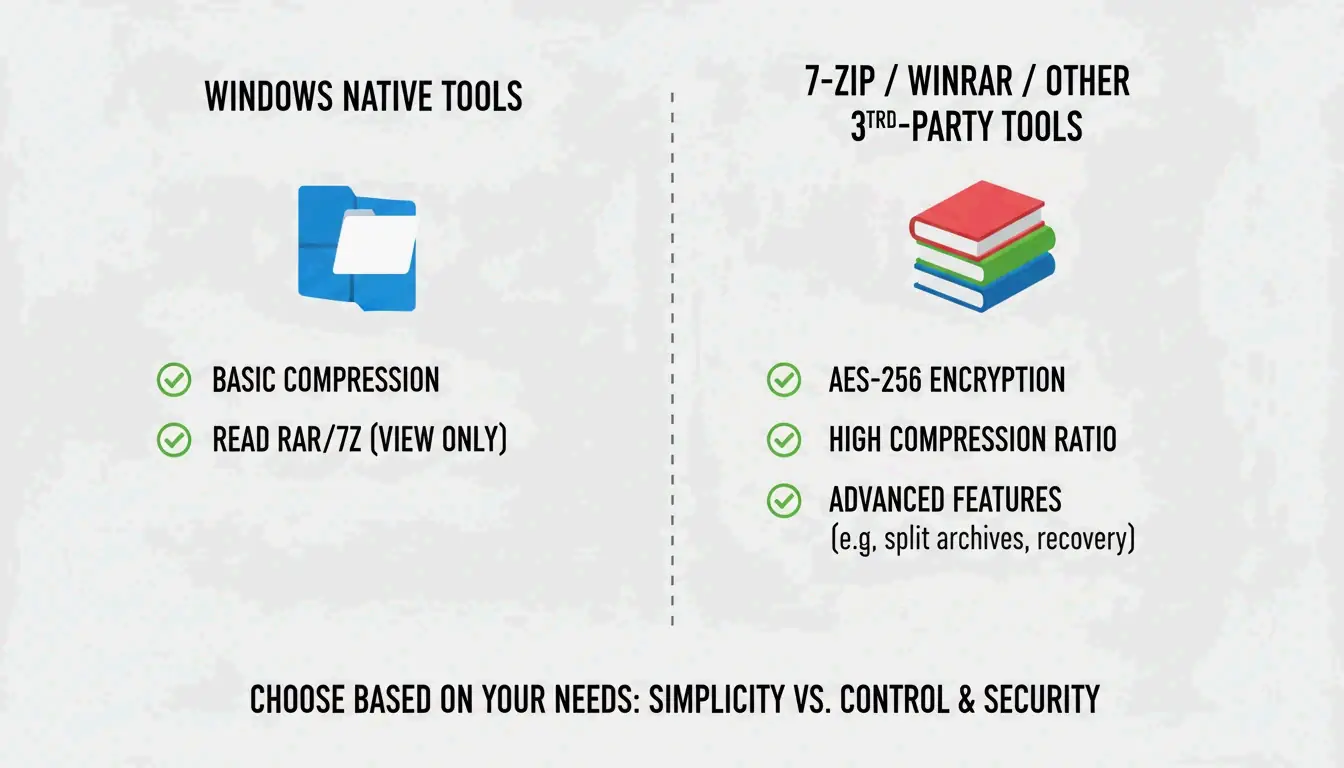
    Native tools vs third-party software comparison

    Use 7-Zip or WinRAR when:
    – Opening password-protected files with AES-256 encryption
    – Maximum compression is needed (LZMA/LZMA2 algorithms)
    – Working with GZIP, TAR, or BZIP2 formats

    Compression Ratios by File Type

    Not all files compress equally. Serverman provides useful benchmarks:

    File Type Typical Compression Why
    Text documents / spreadsheets 60–90% Highly repetitive data compresses well
    PDFs 20–40% Partially compressed already
    JPEG / MP3 / MP4 Less than 1% Already compressed by their own codecs
    RAW images / BMP 40–70% Uncompressed pixel data

    Modern Windows uses the ZIP64 extension, supporting archives up to 16 exabytes — more than enough for any real-world scenario, per Wikipedia.

    Conclusion

    For most users, right-click “Extract All” in File Explorer handles ZIP, RAR, and 7z extraction on Windows 11. Use PowerShell for batch jobs, and install 7-Zip when you need AES-256 encryption or maximum compression. Always ensure sufficient disk space before extracting large archives.

    FAQ

    What is the difference between ‘Extract All’ and double-clicking a ZIP?

    Double-clicking lets you browse inside without decompressing — files appear but won’t run correctly. “Extract All” fully unpacks the data into a normal folder, which is necessary for apps, installers, and files that interact with your system.

    Why can’t I see the ‘Extract All’ option?

    You may have clicked a regular folder instead of a compressed archive (check the extension is .zip, .rar, or .7z). If WinRAR is installed, it may have replaced the default context menu. Try “Open With → File Explorer” to restore the native option.

    How do I unzip password-protected files when Windows fails?

    The built-in tool doesn’t handle high-level encryption. Use 7-Zip or WinRAR — both support AES-256 encryption that Windows cannot process natively.
  • How to Compress PNG Files in 2026: Lossless, Lossy, and PNG 3.0

    How to Compress PNG Files in 2026: Lossless, Lossy, and PNG 3.0

    To compress PNG files effectively in 2026, use oxipng for lossless optimization (zero quality loss) or pngquant for lossy quantization (60–80% reduction with barely visible impact). Browser tools like ToolTea handle quick jobs locally via WebAssembly, while CLI tools automate bulk processing in dev pipelines.

    Lossless vs. Lossy: Which Method for Which File?

    Method Tool How It Works Best For Typical Savings
    Lossless oxipng Re-encodes DEFLATE, strips metadata Logos, text screenshots, icons 15–40%
    Lossy quantization pngquant Reduces color palette (32-bit → 8-bit) Illustrations, photos, UI elements 60–80%

    Lossless is like reorganizing a suitcase without throwing anything away — every pixel stays identical. Lossy quantization actually removes data by limiting unique colors, but the human eye rarely notices.

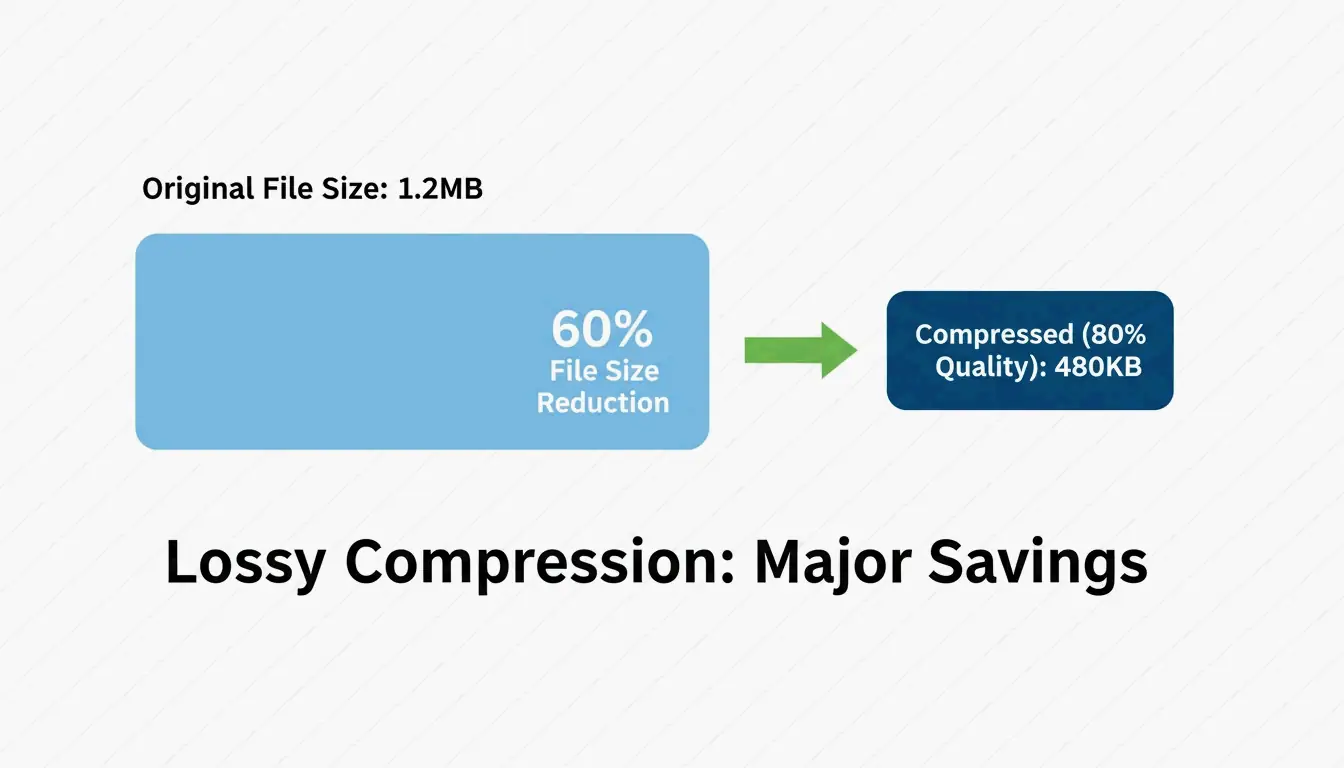
    Pixotter shared a case study: a UI screenshot dropped from 1.2MB to 480KB at 80% quality — virtually indistinguishable from the original.

    Both methods preserve the alpha channel. Unlike JPEG, PNG keeps transparency intact even after aggressive compression.

    Side-by-side comparison of file size vs. visual quality

    Browser Compression: Quick and Private

    For daily tasks, browser tools are fastest — and keep your data private.

    ToolTea processes images locally using WebAssembly, meaning files never leave your computer:

    1. Upload — Drag PNGs or a ZIP file into the browser
    2. Choose strategy — “Lossless” for pixel-perfect results, or a specific color count (e.g., 256) for maximum shrinkage
    3. Resize — Drop to web-standard widths (e.g., 1920px) for additional savings
    4. Download — Hit “Compress All” and save

    Simple 3-step browser compression workflow

    CLI Tools: Developer-Grade Optimization

    oxipng (v9.1.1) — Lossless Gold Standard

    Built in Rust, oxipng is significantly faster than older tools. Pixotter recommends it as the current best-in-class for lossless PNG optimization.

    
    oxipng --opt 4 --strip all input.png
    
    # Batch process
    oxipng --opt 4 --strip all *.png
    

    pngquant (v3.0) — Lossy Quantization

    Converts 32-bit PNGs to 8-bit palettes, achieving 60–80% size reduction. ToolTea benchmarks confirm this is nearly invisible for logos and UI elements.

    # Compress to 256 colors (80% quality)
    pngquant --quality=65-80 --output output.png input.png
    
    # Batch with fallback
    pngquant --force --quality=65-80 --ext .png *.png
    

    PNG 3.0: The 2025 Update

    The PNG 3.0 release (June 24, 2025) brought major improvements:

    Feature Impact
    HDR support Higher dynamic range for modern displays
    Native APNG Animated PNGs now a W3C Recommendation
    Improved Exif chunks Cleaner metadata handling

    PNG vs. WebP vs. AVIF: When to Switch

    Even with PNG 3.0, PNG is not always the right choice for the web:

    Format Compression Transparency Browser Support Use Case
    PNG Lossless or lossy Yes (alpha) Universal Logos, icons, pixel-perfect assets
    WebP 25–34% smaller than JPEG Yes 97%+ General web images, photos
    AVIF 50% smaller than JPEG Yes 92%+ Maximum compression, modern browsers

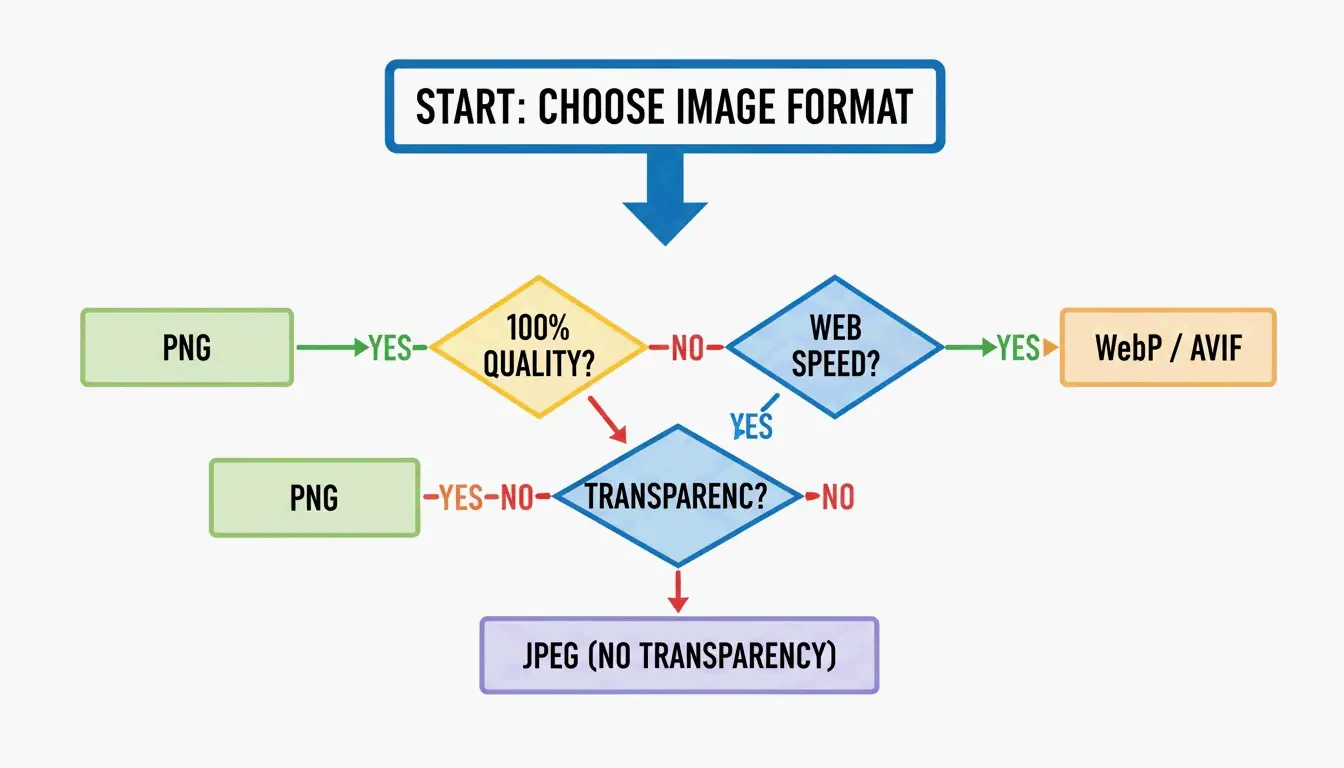
    SammaPix notes: if your only goal is fast page loads, convert PNG to WebP or AVIF. Keep PNG only when you need pixel-perfect rendering or email compatibility.

    Format selection nodes: PNG vs. WebP/AVIF

    How DEFLATE and Filtering Work Together

    PNG compression is a two-stage process:

    1. Filtering — Before compression, the encoder applies one of five filter types (Sub, Up, Average, Paeth, None) to predict pixel values from neighboring pixels. This makes the data more predictable.
    2. DEFLATE — The LZ77 + Huffman coding engine finds repeating patterns in the filtered data and compresses them.

    The better the filtering, the more effective DEFLATE becomes. Tools like oxipng test all five filter strategies per row and pick the optimal one — this is why they outperform basic encoders.

    For user experience, the Adam7 interlacing algorithm renders a blurry preview almost instantly while the full image loads — valuable for slow mobile connections.

    Conclusion

    PNG compression in 2026 means choosing the right tool for the job: oxipng for lossless precision (logos, icons), pngquant for aggressive savings (60–80% on illustrations and UI). For web performance, consider converting to WebP or AVIF unless pixel-perfect transparency is required.

    Action plan: Run your heaviest PNGs through pngquant. If the 60–80% savings look good, adopt it. For dev pipelines, add oxipng or Sharp to your build process to strip metadata and optimize automatically.

    FAQ

    Can I compress a PNG without losing any quality?

    Yes. Use lossless tools like oxipng or ToolTea’s lossless mode. These re-encode the DEFLATE data and strip metadata without changing a single pixel. Expect 15–40% savings.

    How much can I compress a PNG with lossy methods?

    60–80% is typical with pngquant, which reduces the color palette from millions to 256 or fewer colors. For logos and UI elements, the visual difference is nearly invisible. For photographs, consider switching to WebP instead.

    Should I convert PNG to WebP for my website?

    For general web use, yes. WebP files are 25–34% smaller than equivalent JPEGs and support transparency like PNG. Keep PNG only for assets that require pixel-perfect rendering (logos with sharp edges, email templates) or when targeting clients with outdated software.

  • How to Compress JPG: Reduce File Size Without Losing Quality (2026)

    How to Compress JPG: Reduce File Size Without Losing Quality (2026)

    The most effective way to compress JPG files is a two-step process: resize the image dimensions to match your display needs, then apply lossy compression at 75–85% quality. This approach can cut file sizes by up to 98% — from 5MB to 100KB — while keeping images crisp to the naked eye, according to ShortPixel.

    The “Resize Then Compress” Protocol

    If you compress a massive 5MB photo without changing its dimensions, the result is often blurry or pixelated. Professionals avoid this by tackling two variables independently:

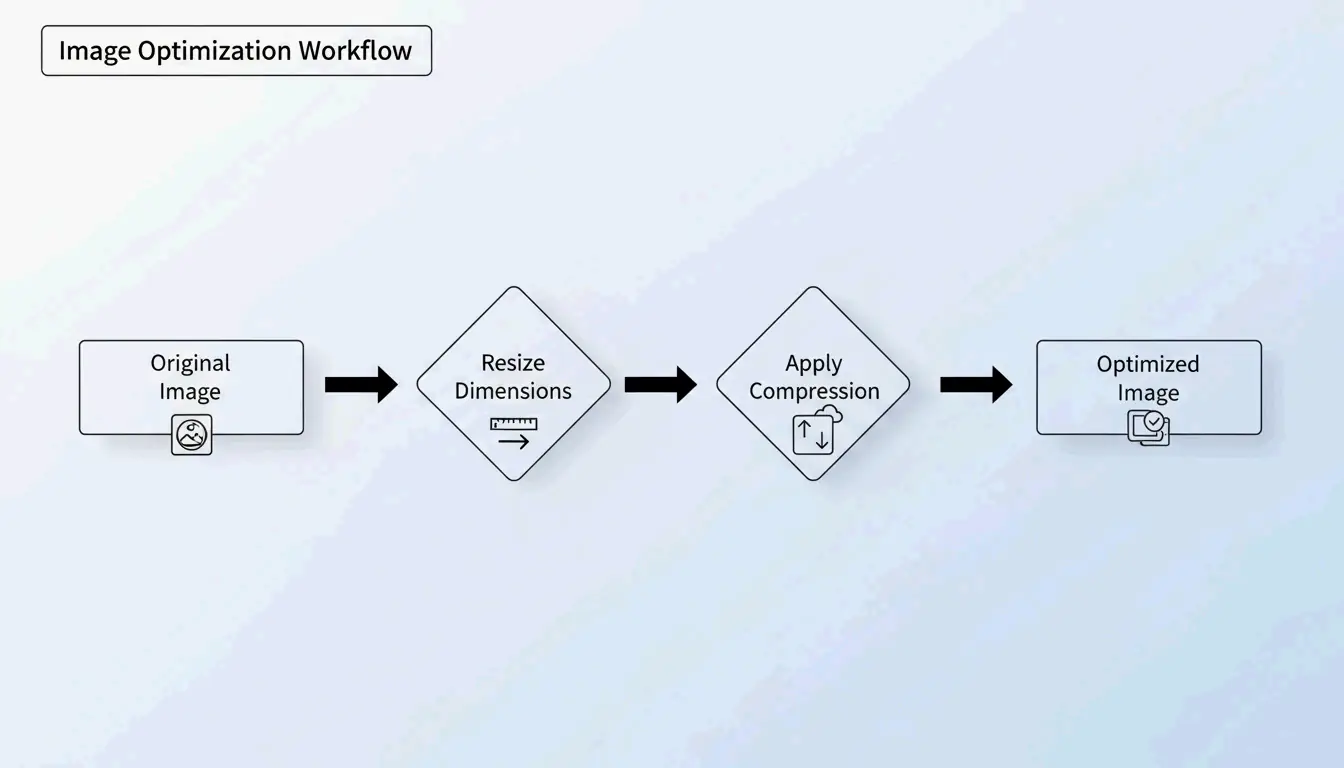
    1. Resize — Reduce the pixel dimensions to match the actual display size
    2. Compress — Apply lossy quality reduction at 75–85%

    Why Resize First?

    If your website displays an image at 1200px wide, uploading a 4000px original wastes bandwidth on “ghost pixels” that no one sees. Resizing first lets the compression algorithm focus its power on visible data.

    ShortPixel demonstrated that a 5MB image resized then compressed drops to 100KB — a 98% reduction — while remaining visually crisp.

    The 2-step optimization workflow: Resize then Compress

    How Lossy Compression Works: DCT in Plain Terms

    JPG compression relies on Discrete Cosine Transform (DCT). The algorithm divides the image into 8×8 pixel blocks and converts visual data into frequency components. It then rounds off high-frequency details — subtle color variations your eyes ignore — to save space.

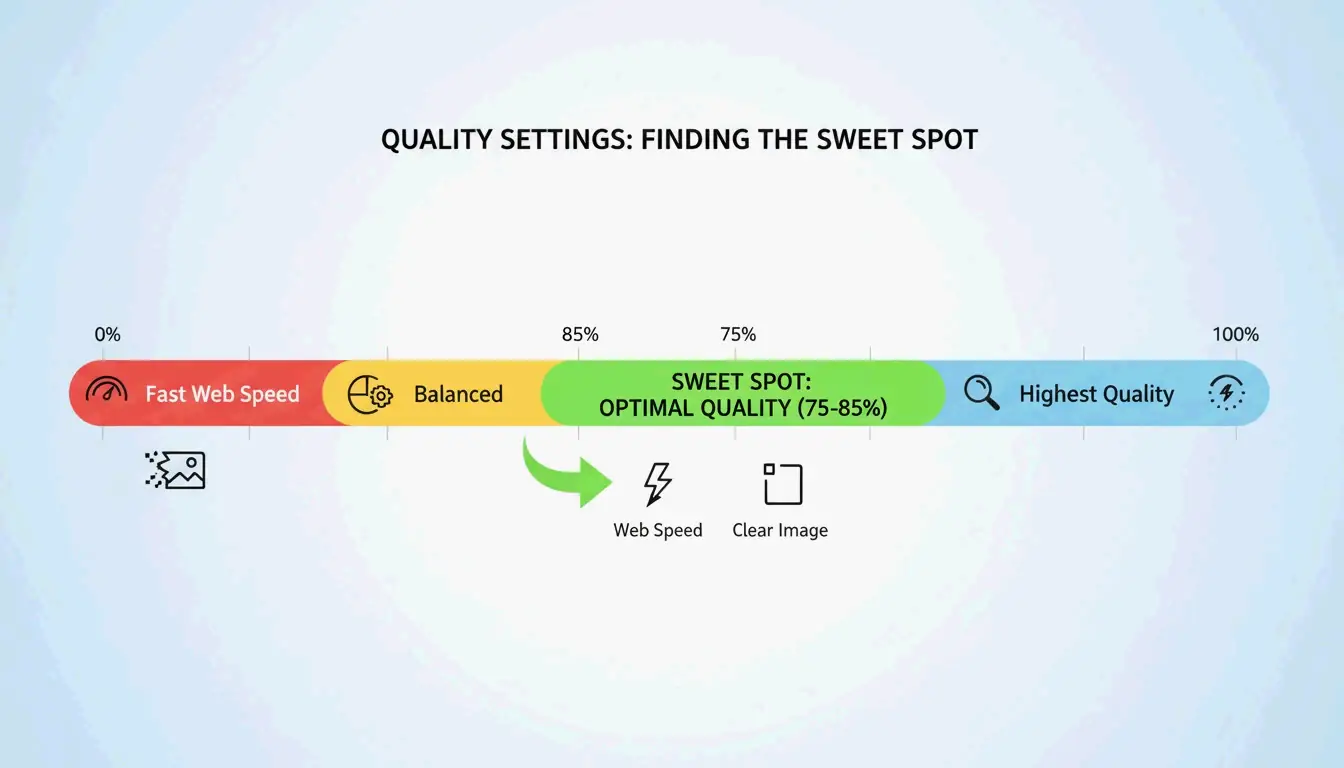
    As GWAA explains, the 75–85% quality range is the sweet spot for web use:

    Quality Setting File Size Reduction Visual Impact
    90–100% Minimal (10–20%) Virtually no visible difference
    75–85% 40–70% Barely noticeable without side-by-side comparison
    50–70% 70–85% Slight softening, acceptable for thumbnails
    30–40% 85–95% Visible artifacts, suitable only for strict upload limits

    Visual Quality vs. File Size "Sweet Spot" (75-85%)

    Best Tools to Compress JPG in 2026

    Online Tools

    Tool Best For Key Feature Privacy
    TinyIMG Shopify stores, bulk web use AI-driven, up to 98% reduction Server-side
    ShortPixel WordPress sites, developers API + plugin, batch processing Server-side
    AllImageTools Privacy-first compression Client-side processing (never uploaded) Browser-only
    GWAA Quick one-off compression No account needed Server-side

    Native Desktop Tools

    • Windows: Open the Photos app → “Resize image” → adjust quality slider
    • Mac: Open Preview → Tools → Adjust Size → reduce resolution and quality

    For Developers: ImageMagick

    Bitget Academy recommends ImageMagick for batch processing:

    
    convert input.jpg -quality 85 output.jpg
    
    # Batch process entire folder
    mogrify -quality 85 -path ./optimized/ *.jpg
    

    Strip EXIF Metadata for Extra Savings

    Every JPG contains hidden EXIF metadata — camera settings, dates, GPS coordinates. Dead weight for websites. Uncheck “Keep Exif” in your compression tool to save a few extra KB per image without changing a single pixel.

    SEO Impact: Core Web Vitals and Image Weight

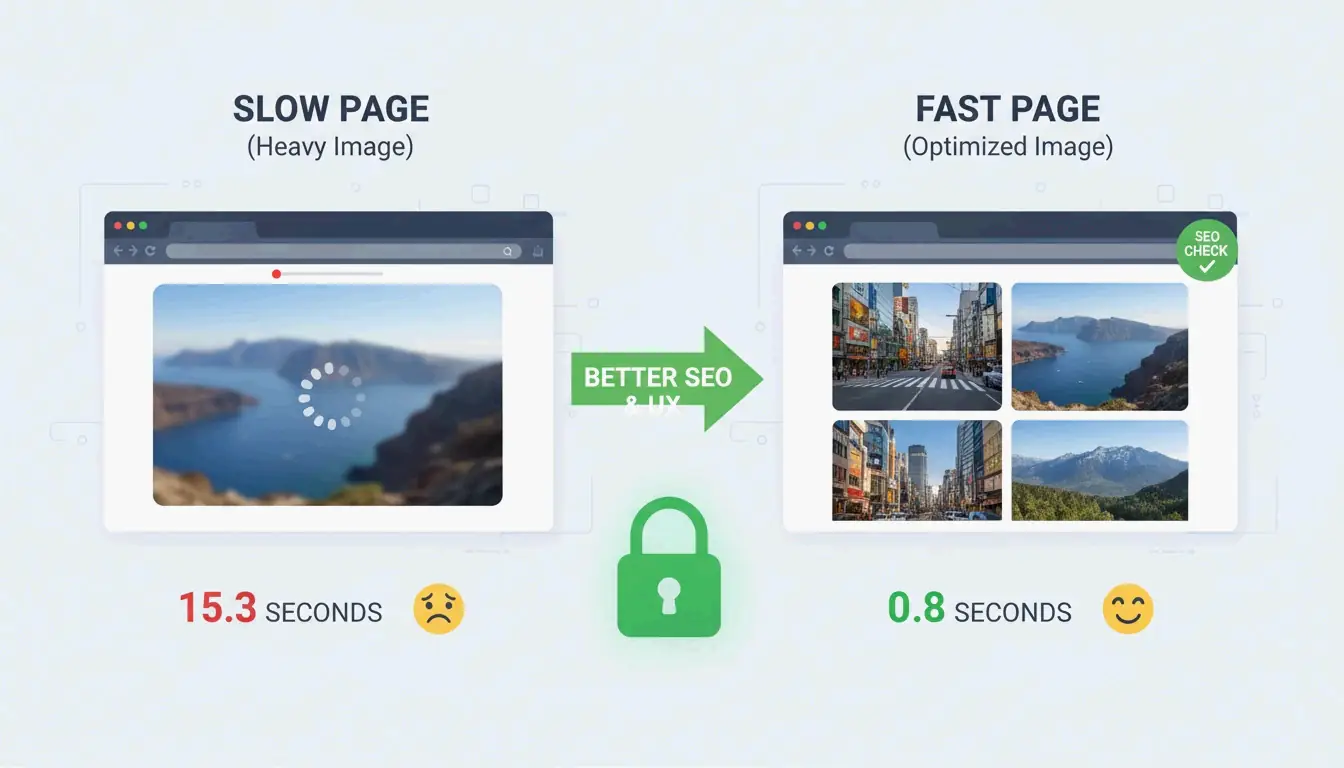
    Image file size is the #1 reason sites fail the Largest Contentful Paint (LCP) test — a Core Web Vitals metric Google uses for ranking.

    • 53% of mobile users abandon sites that take more than 3 seconds to load (AllImageTools)
    • WebP and AVIF formats are 25–34% smaller than JPEG at equivalent quality (Google Developers)

    For 2026 SEO, compress JPGs to under 200KB for hero images and under 100KB for standard content images.

    Connection between image size and page loading speed

    Troubleshooting: When Your JPG Is Still Too Large

    If you need to hit a strict limit (e.g., 100KB for a government form):

    1. Drop the quality slider to 30–40% — You will see some noise, but the file shrinks dramatically
    2. Never re-compress a compressed JPG — This causes “generation loss,” degrading quality exponentially. Always start from the original
    3. Try AI neural compression — Tools like Nero AI and TinyIMG remove detail only where the human eye is least sensitive

    Conclusion

    Compressing JPGs effectively means resizing first, then applying 75–85% lossy compression. This two-step protocol delivers 40–98% file size reduction with minimal visible impact. For 2026, make optimization a pre-upload habit: check Google PageSpeed Insights, use ShortPixel or TinyIMG on your heaviest images, and consider switching to WebP or AVIF for additional SEO gains.

    FAQ

    Is 50 KB small enough for most web forms?

    Yes. Most government, school, and job portals set limits between 100KB and 500KB. For profile pictures, 50KB is an excellent target. For homepage hero images, stay under 200KB.

    Does compressing a JPG multiple times ruin quality?

    Yes — this causes generation loss. JPEG is lossy, so every re-compression deletes more data, creating visible artifacts. Always compress from the original high-quality file, never from an already-compressed version.

    Why use JPEG instead of PNG for photographs?

    JPEG’s lossy compression is designed for photos with millions of colors, producing files 5–10x smaller than PNG for the same photograph. PNG is lossless and better for logos, text, and images requiring transparency — but it makes photo files unnecessarily large.